The Cheats' Way to Knot Pearls-Japanese way to knot pearls
This is an easier way to tie a knot in-between beads using silk thread with a needle attached
Tools Required:
Awl
Pearl Tweezers
Scissors
Clear nail polish
Tips:
Use the thickest silk thread that will go through the bead with smallest hole twice.
Wash your hands before starting to keep the thread clean.
Products:
2M length of 0.45 no.2 Silk thread with needle (thicker for larger hole Pearls/beads)
2 x 10mm lengths of French Wire/Bullion in matching colour to clasp
Beads
Clasp
Method:
STEP 1.Cut two 10mm lengths of Bullion/French wire. Unwind the silk thread from the card and tie a knot at the non-needle end.
STEP 2.Thread all the beads onto the thread, thread one length of the pre-cut lengths of French wire/Bullion and one side of the clasp. POSITION THE BULLION ABOUT 20CM FROM THE LAST BEAD THREADED WHEN ALL THE BEADS ARE SITTING NEAR THE KNOTTED END, this will give you enought thread to move the beads around as you re-thread then and knot the silk (and not waste too much thread). 
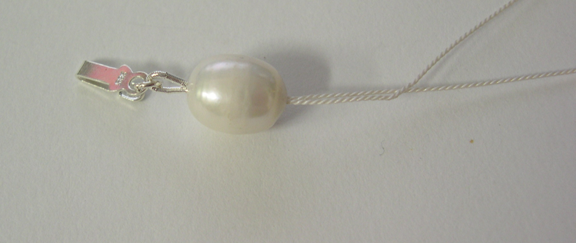
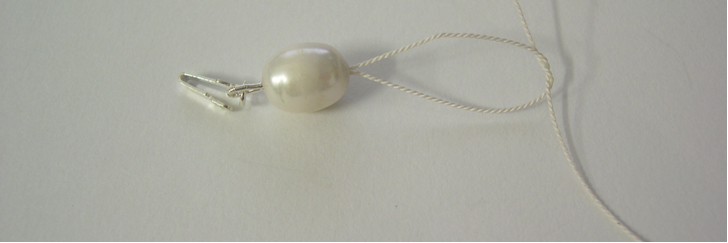
STEP 3. Re-thread the needle through the bead closest to the clasp, pull the thread carefully until the bullion/french wire has made a loop around the ring of the clasp. Tie an over hand knot.

STEP 4. Continue to re-thread the needle through each consecutive bead, tying an over hand knot between each bead.
See photo for example of how to make it is easier to pass needle through beads a second time, you can also pull the end of the needle gently with a pair of pliers. Pulling too hard will break the needle or the thread and you will have to start again, this is why choosing the correct thickness of silk at the beginning is important.
STEP 5. Continue until only three beads are left, cut the knot and remove these three beads, re-thread the three beads on the other length of thread (without knotting).
STEP 6. Thread the second length of pre-cut Bullion/French wire and the other side of the clasp.
STEP 7. Re-thread the silk thread through the last three beads, tying a knot in-between each bead. Start with the bead closest to clasp leaving as little space between beads as possible.
STEP 8. Knot the two loose ends of thread to secure with a double overhand knot.
STEP 9. Fix the last few knots with two coats of clear nail polish.
STEP 10. When all the nail polish is dry trim the ends close.
Save the left over silk thread by re-wrapping on the card for next time.