Messy Wire Wrap
Tools Required:
Round Nose Pliers
Flat or Chain Nose Pliers
Side Cutters
Bead Mat

Tips:
Keep any scraps of silver or gold wire as they can be sold to metal merchants.
Use the round nose pliers as a guide for how big or small you need your loop to be; we usually grasp the wire about 1.5mm from the tip.
To Start:
We have used a 50mm head pin and a 10mm Pearl
Thread the beads required onto the headpin.
Hold the Round Nose Pliers in your weakest hand leaving a gap of 2.5mm between the bead and the Pliers; use a larger gap for base metal or wire thicker than 0.5mm.
In your other hand using either the Flat or Chain Nose Pliers, hold the tail of the Headpin; the Pliers and the headpin should be in a straight line.
Think of the wire as the hands of a clock. When holding the tip of the wire you are starting at 12 o’clock, and are going to wrap the wire around the Round Nose Pliers.
Remember that you are trying to form a neat loop, so don’t be afraid to be firm.
Depending on what feels more comfortable, you can wrap in an anti clockwise or clockwise direction.
|
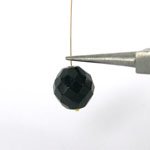
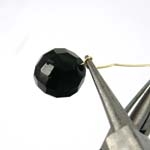
Step 1
Hold the round nose pliers in your weakest hand leaving a gap of 1.5mm between the bead and the pliers; use a larger gap for base metal or wire thicker than 0.5mm. |
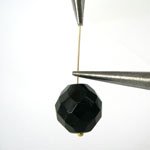
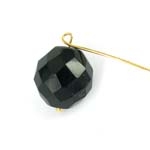
Step 2
Using the tips of your chain nose pliers, grab the wire directly above the beads. |
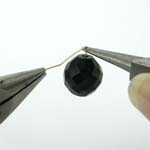
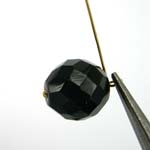
Step 3
Wrap the wire around the round nose pliers in the direction of 9 o’clock. |
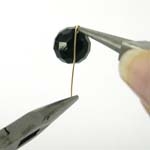
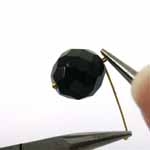
Step 4
Moving in a continuous action go to 6 o’clock. |
Step 5
All the way to 3 o’clock. |
Step 6
Now you have formed a crossed circle.
AT THIS STAGE DO NOT REMOVE LOOP FROM THE ROUND NOSE PLIERS.
|
|
Step 7
Turn the round nose pliers to the side so that the tip of the round nose pliers is pointing towards the ceiling. |
Step 8
Continue to wrap the wire around the stalk between the bead and pliers. |
Step 9
Wrap the wire until there are no gaps, and then continue to wrap the wire over the loop for as long as you can . |
Step 10
Finish with the wire by pushing it against the wrap.
|
|
|