
Making "Tin Cup" Designs With Silk Thread
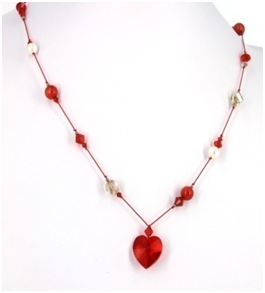
The "Tin Cup” necklace design is a variation of the floating style necklace; beads are strung on silk thread and are secured with knots instead of crimps or glue. The style of necklace gets its name from the movie "Tin Cup” where René Russo wore a stand of spaced Pearls on silk thread in most scenes.
You can use any left over beads for this design, even add a pendant if desired.
|
Tools Required:
Awl
Pearl Tweezers
Scissors
Use the thickest silk thread that will go through the bead with the smallest hole.You may need to use a bead with a larger hole next to the clasp as the silk thread needs to be threaded twice through these beads.
Wash your hands before starting to keep the thread clean.
To best position the beads, tie, re-opening and moving knots from the wrong position as required - see Knotting and Cords - Knots for Cords.
Products:
2m Silk Thread
Beads Clasp
2 x 10mm lengths of French Wire/Bullion
|
|
|
Method:
STEP 1. Unwind the silk thread from the card; thread the first bead on to the thread, then one of the pre-cut lengths of French wire/Bullion and one side of the clasp and slide them all towards the end of the thread.
STEP 2. Re-thread the thread through the bead and secure with two overhand knots leaving as little "tail” as possible.
STEP 3. Tie an overhand knot; slide and position the knot, leaving the space you require between the knots.
STEP 4. Thread the bead/s for this group and then tie and an overhand knot; position the knot close to the bead.
STEP 5. Continue to space beads as required until the necklace is the required length.
STEP 6. To finish: thread the last bead required, then the second pre-cut length of bullion/French wire and the second side of the clasp; slide to sit next to the last bead. Re-thread the thread through the last bead and secure with two overhand knots.
STEP 7. Fix the knots near the clasp (both ends) with two coats of clear nail polish; when the nail polish is dry, trim the excess thread with scissors.
STEP 8. Save left over silk thread by re-wrapping on the card for next time.