
Techniques -Home
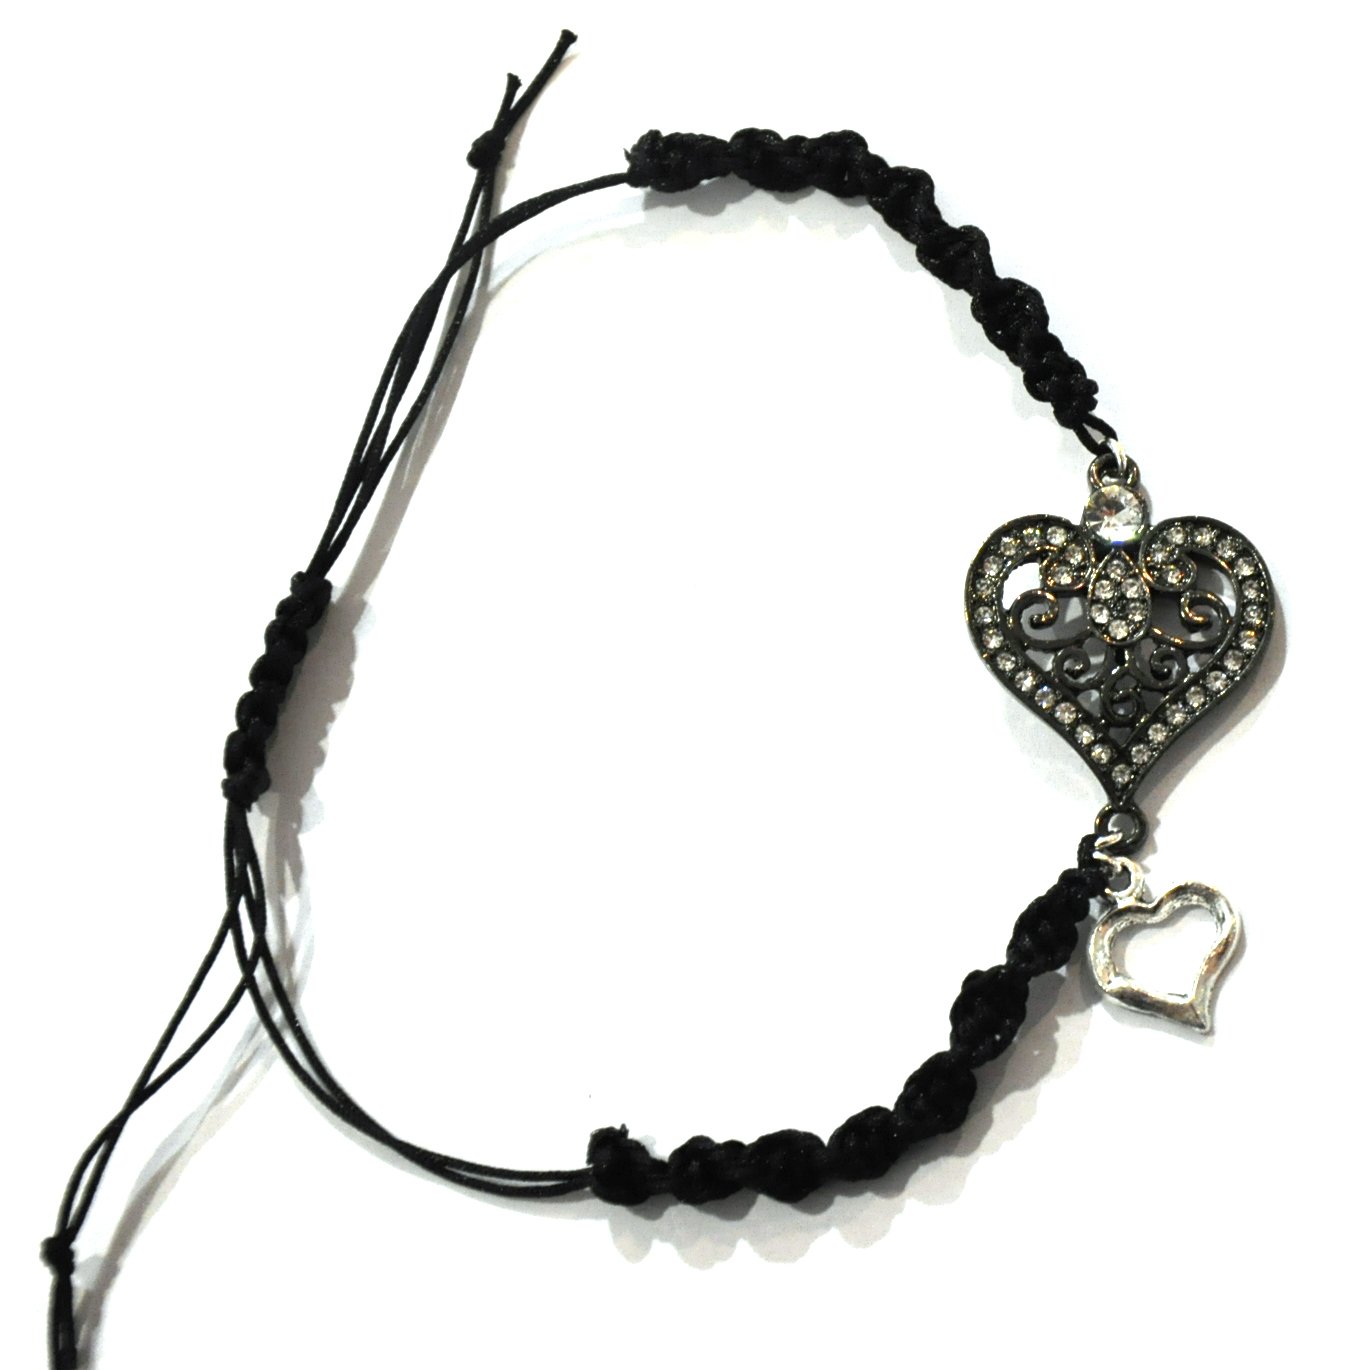
Macrame Adjustable Clasp check out our Bead Inspired Kits page for design ideas.
Tools:
Phone or something similar to your wrist size
Side Cutters
Materials:
Clear Nail Polish
1 meter of cord
Cord bracelet needing adjustable clasp
|
|
|
|
|

Step 1
Wrap the ends of the bracelet around the phone. |
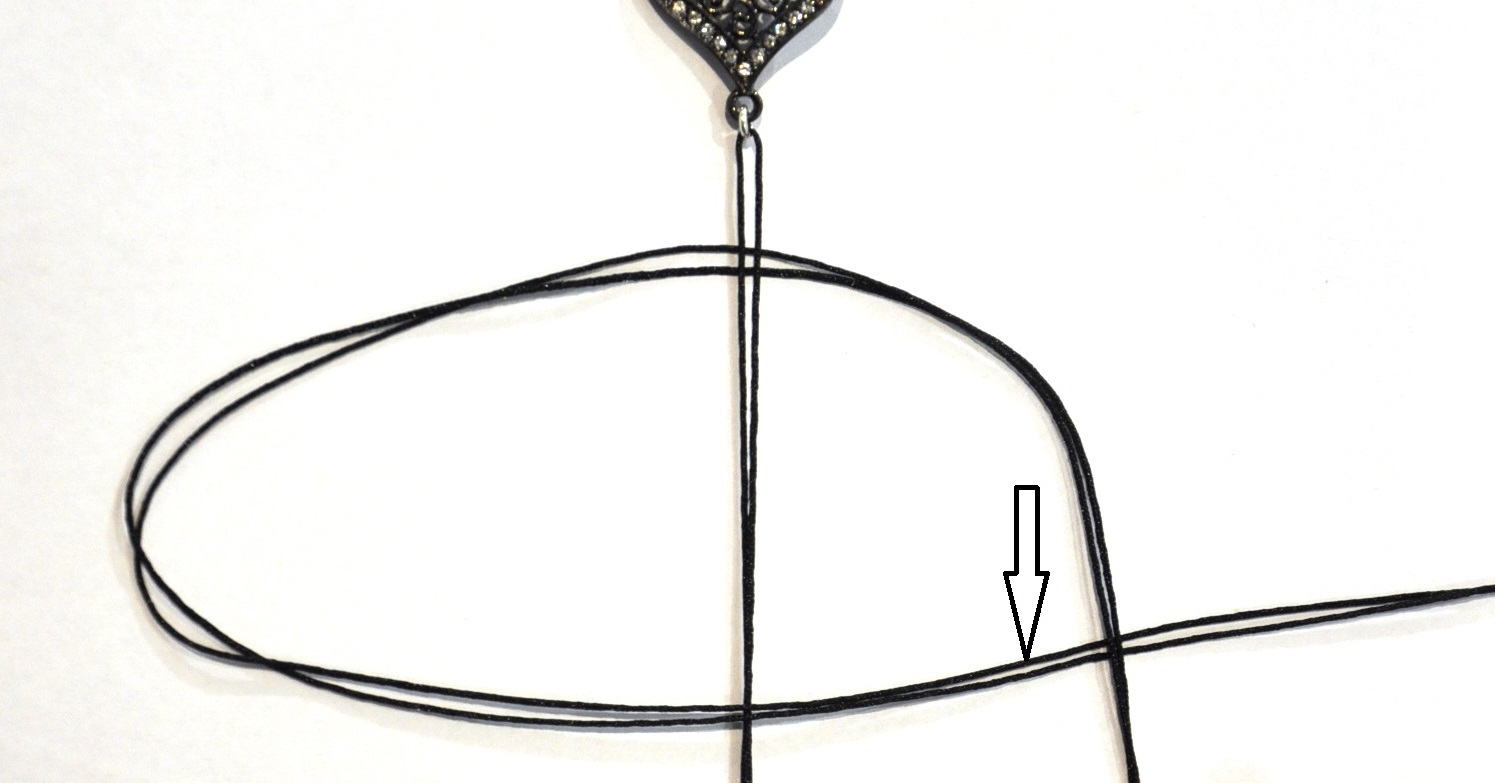
Step 2
Fold the cord in half and pass under both ends of the bracelet. |
Step 3
Pass the right side cords over both ends of the bracelet.
|
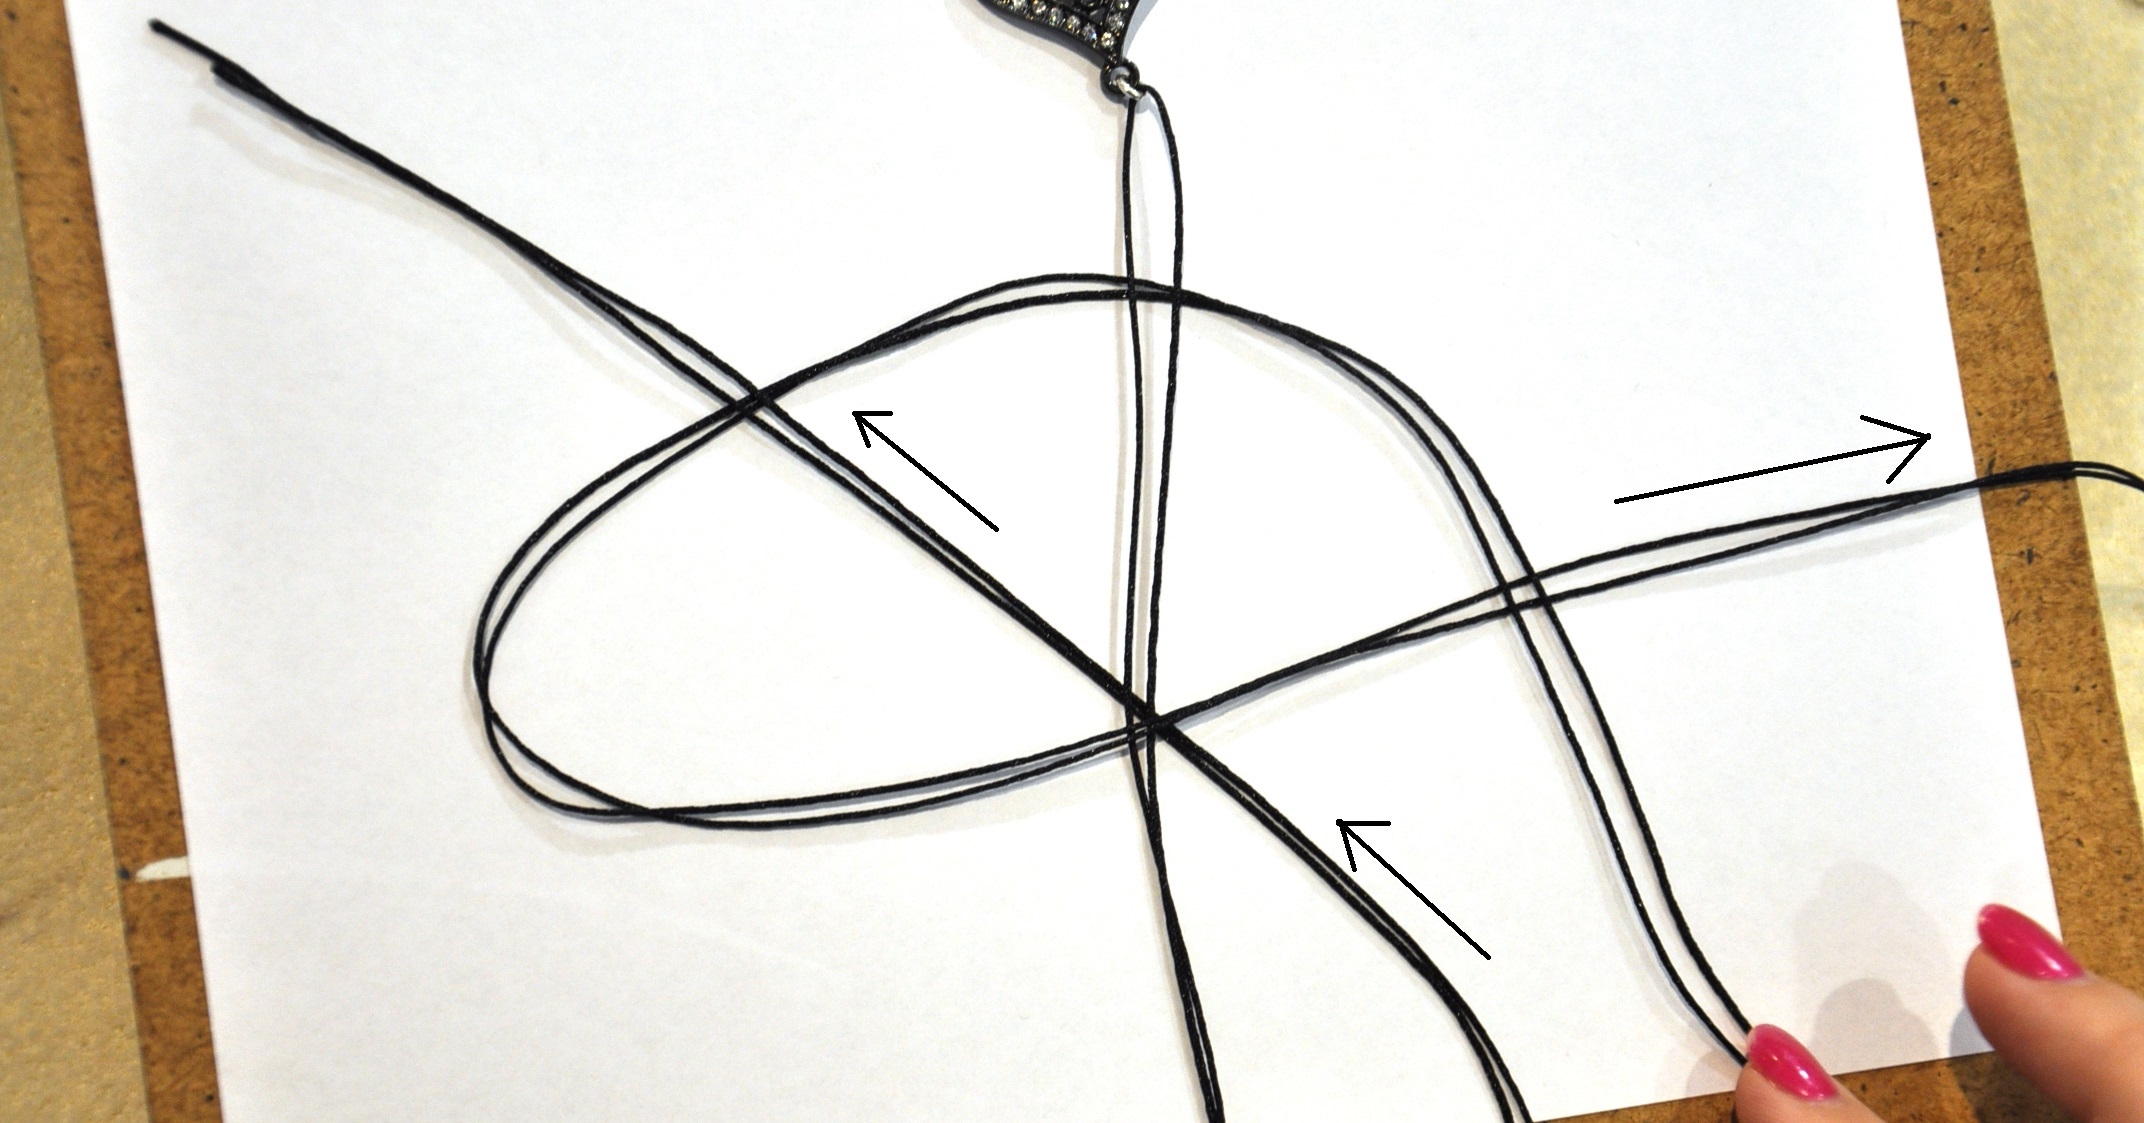
Step 4
Pass the top cords over top of the bottom cord and secure.
|
Step 5
Pass the unsecured cords over top of the secured cord.
Under the center band.
And over the right side loop, this make your first knot.
|
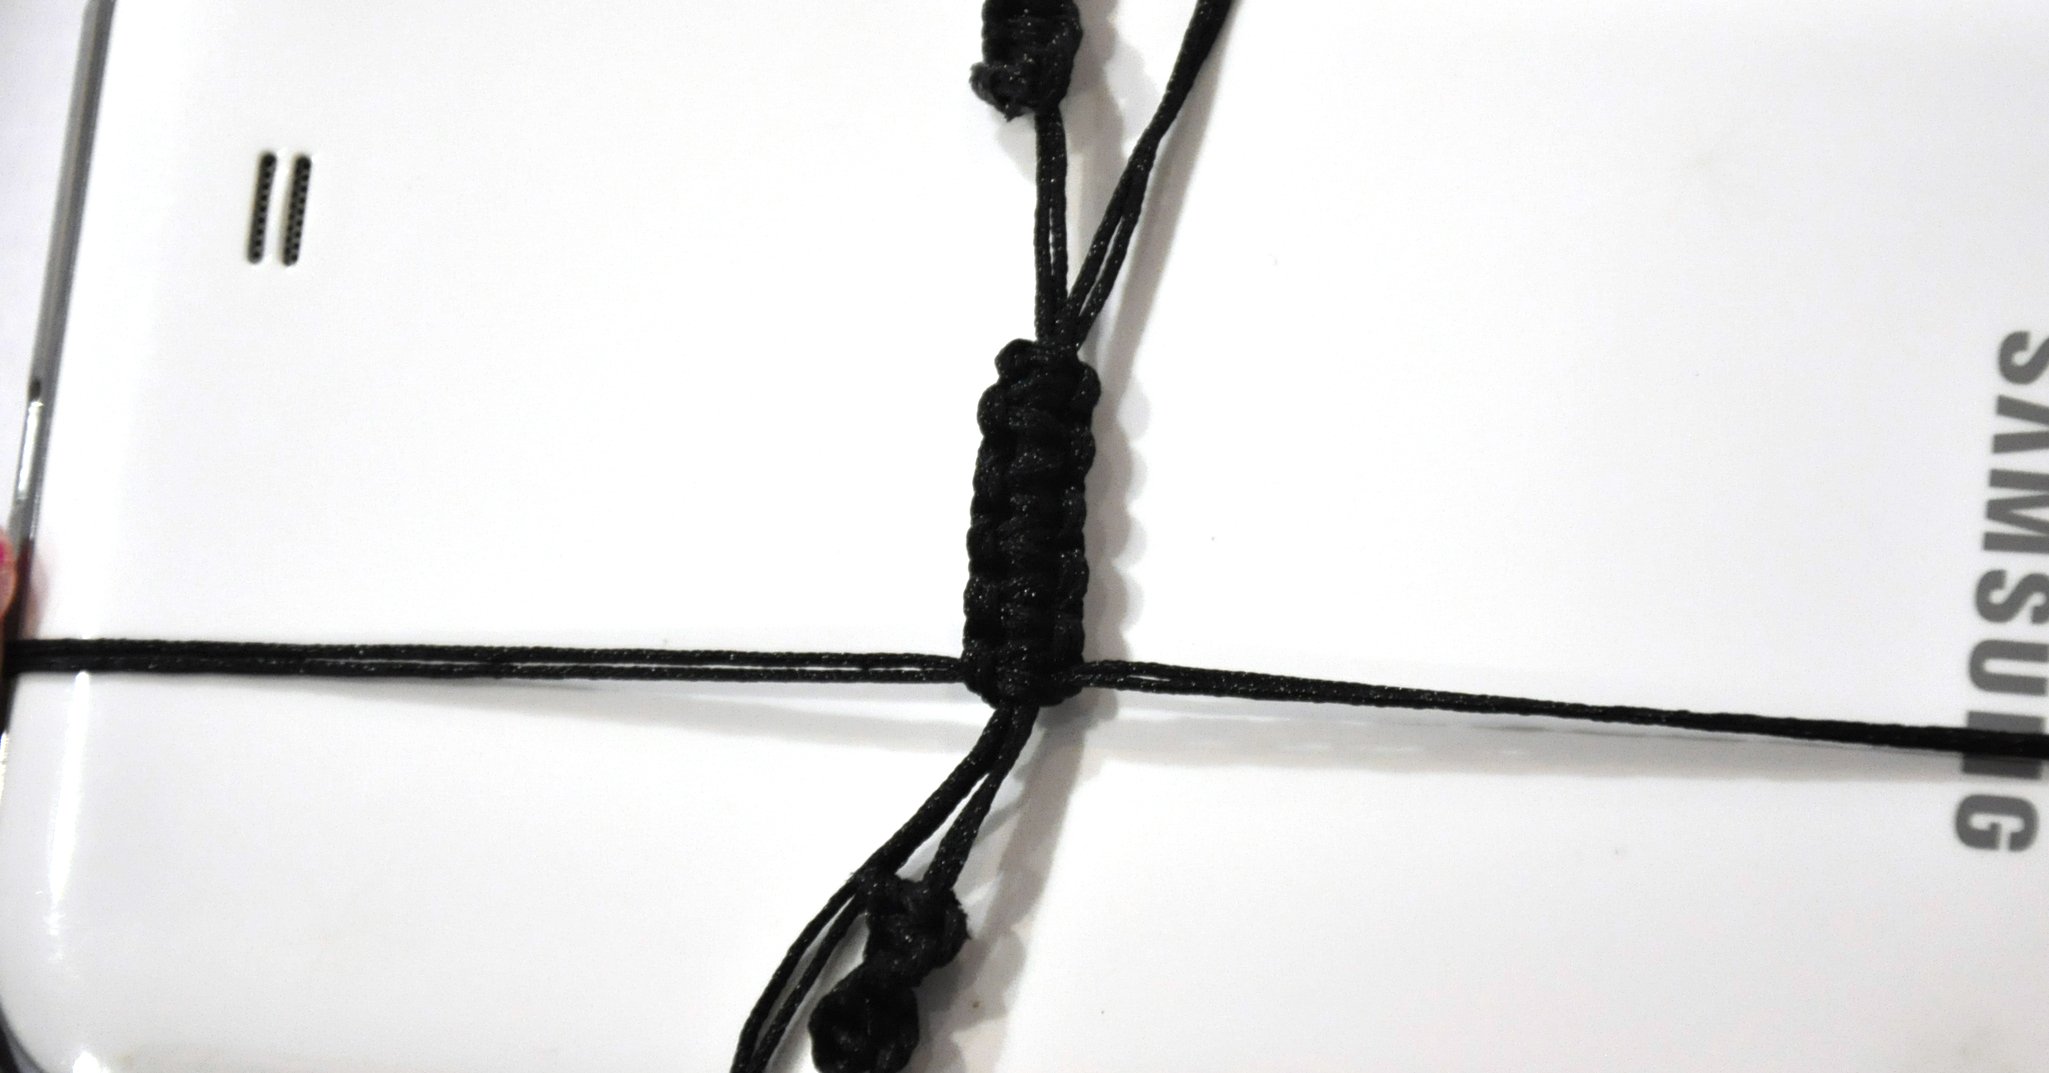
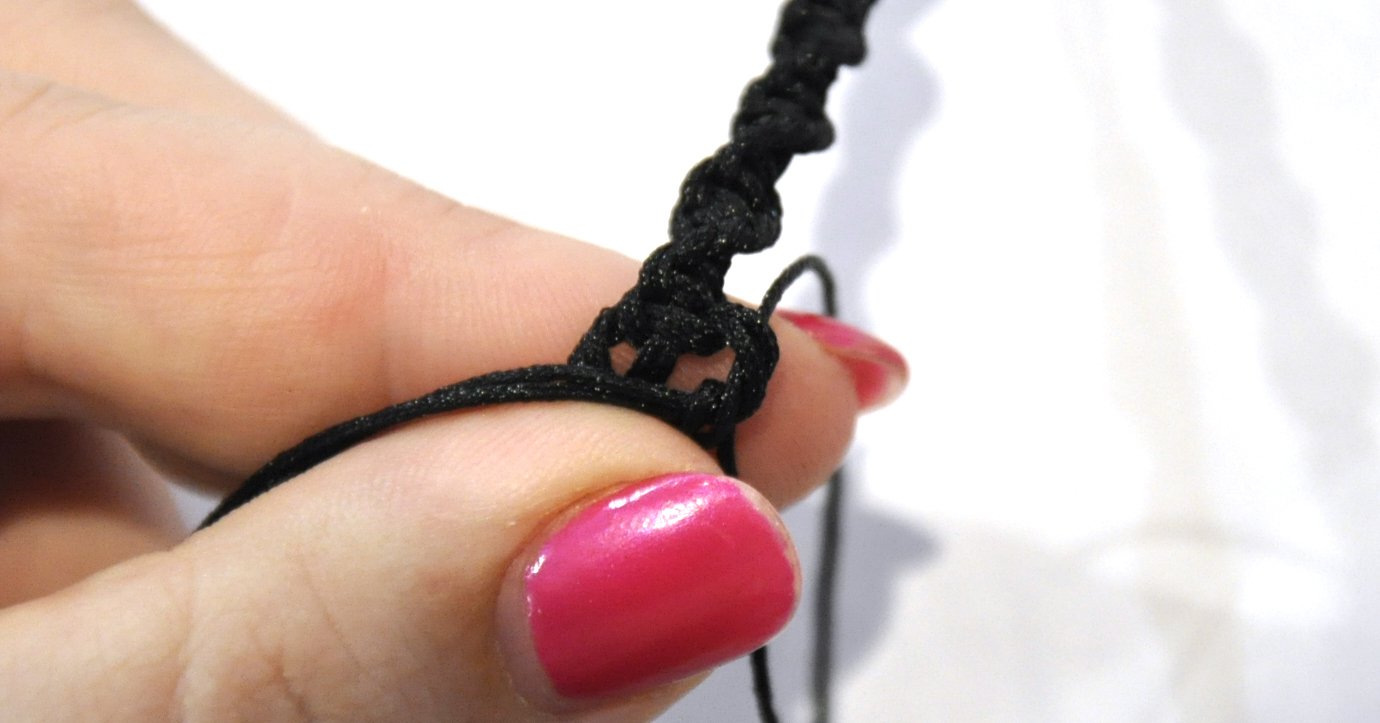
Step 6
Pull both ends of the cords to tighten the knot and slide the knot up as close to the Jump Lock as you can.
|
Step 7Attach a charm to the left side cords, this will allow you to always identify your leading cord.
|
Step 8
Pass the left side cords over both ends of the bracelet.
|
Step 9
Pass the top cords over top of the bottom cord and secure.
|
Step 10
Pass the unsecured cords over top of the secured cord.
Under the center band.
And over the right side loop this will make the second knot.
|
Step 11
Continue knotting working always using the cords with the Charm attached as your leading cord. If you only lead with one side you will make a spiral knot.
|
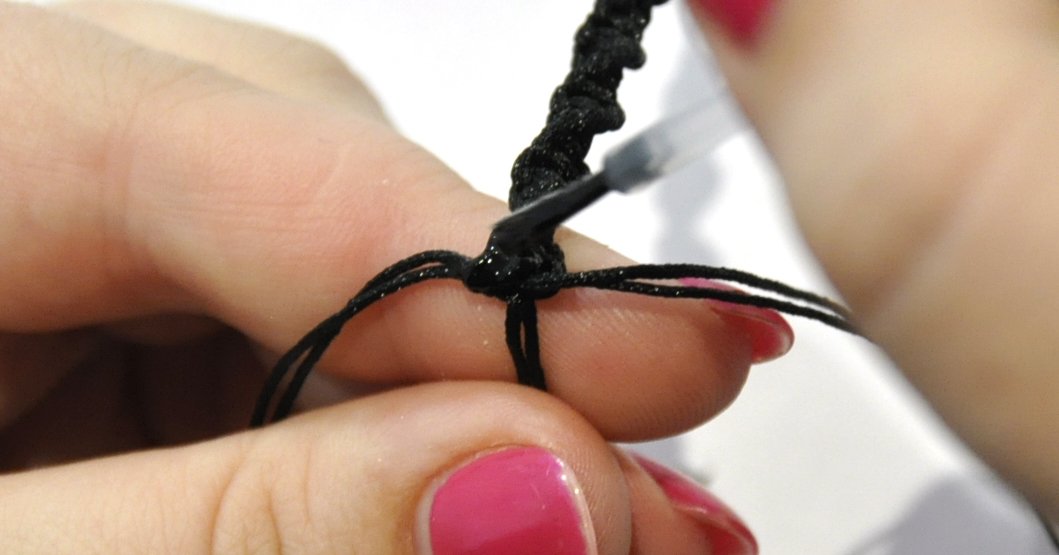
Step 12
Turn the connecter so you are working on the back and tie an over hand knot.
|
Step 13
Secure the knot with clear nail polish.
|
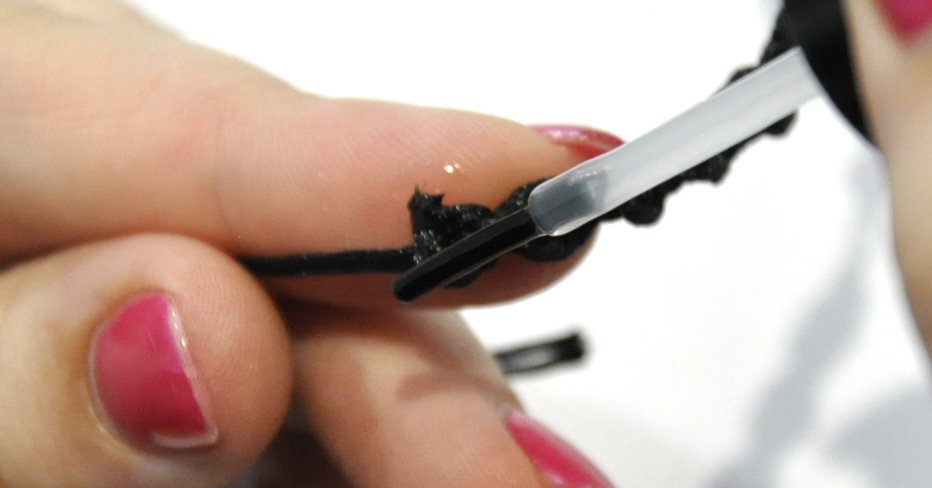
Step 14
Trim the ends and reapply the nail polish.
|
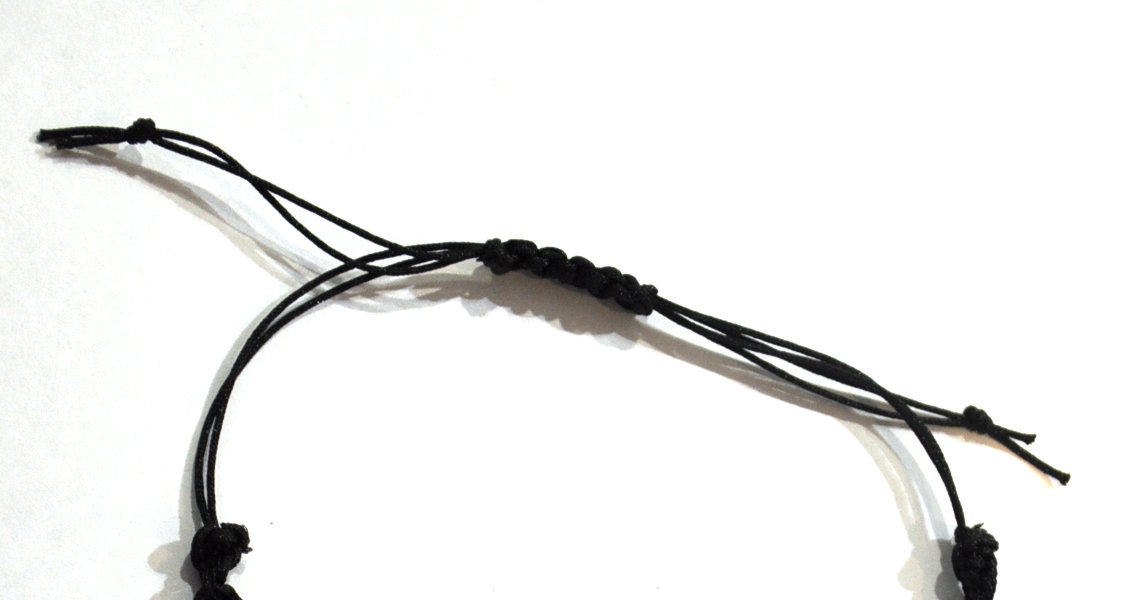
Step 15
Your clasp in now finished
|
|