
This is a new method and easier to work with - click on the link above to jump to the instructions (further down the page).
Jewellery Wire Finishing Using Crimps and French Wire/Bullion
This is a more traditional finish and one you may have to use when the ring on the clasp is fine.
Tools Required:
Crimping Pliers
Tips:
Do not pre-cut the jewellery wire.
Keep the crimps in a sealed container; if dropped they are hard to pick up.
French wire/bullion is very fragile; do not leave it lying around.
To keep French wire/bullion from loosing its shape, hold the length between your fingers when threading.
Products:
Crimp Beads
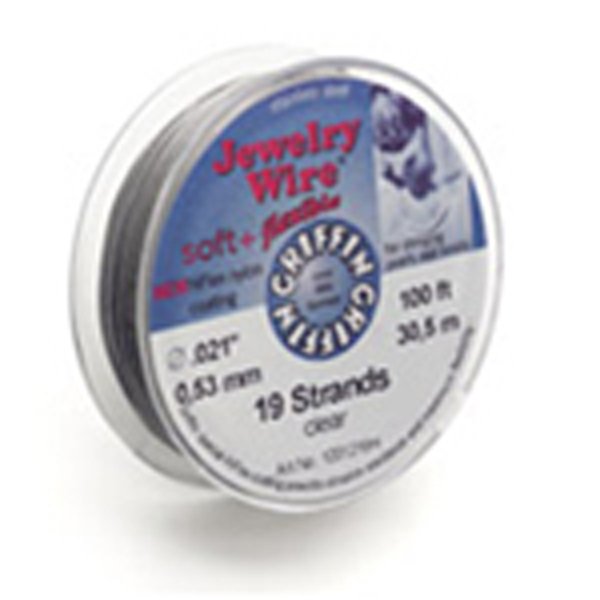
Jewellery Wire
French Wire/Bullion
Beads
Clasp
To Start:
|
|
|
|
 |
|
Step 1
Start with a roll of jewellery wire. Remove the cap from the reel of wire and unwind as much wire as you need to get started. Replace the cap on the reel to protect the remaining wire. Do not pre-cut the wire.
|
Step 2
Thread your desired jewellery design onto the jewellery wire.
|
Step 3
Cut two lengths of French wire/bullion approx 1cm long with scissors, set aside.
Get out two crimps that match the thickness of the wire used.
|
Step 4
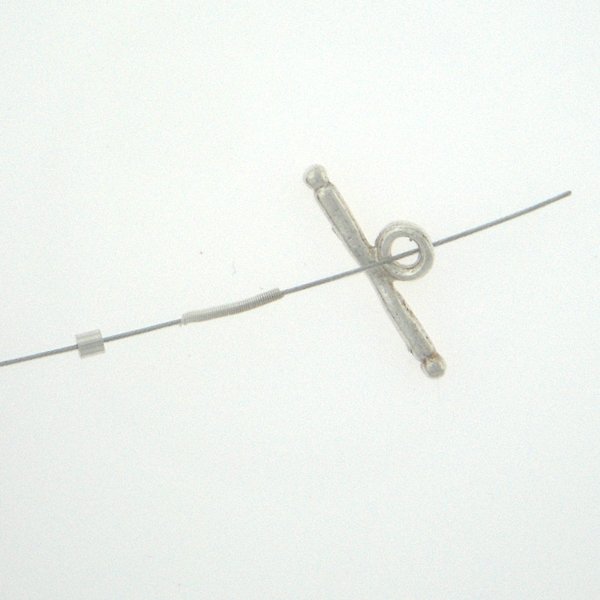
Thread one of the crimps, one of the pre-cut lengths of french wire/bullion and then one side of the clasp (small or fiddly side first).
|
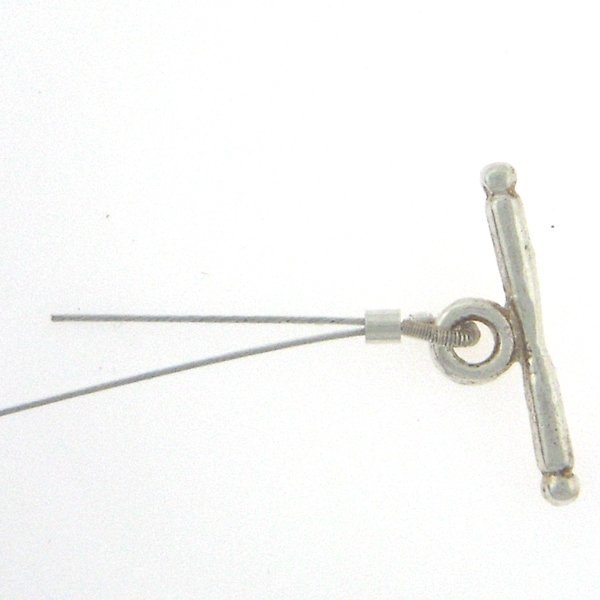
Step 5
Thread the jewellery wire back through crimp, leaving a "tail” of 1-1.5cm.
Gently pull the long end of the jewellery wire with chain/flat/crimp pliers until there are no gaps around the clasp and either side of the French wire/bullion.
|
 |
 |
|
|
|
|
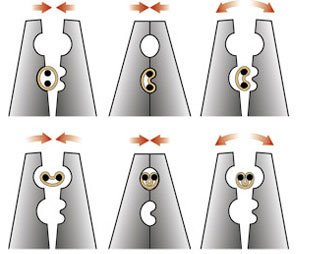
Step 6
Close the crimp using crimping pliers. First squeeze the crimp with the crimping pliers in the space closest to the hinge. Next, release the crimp and turn the crimping pliers a quarter turn and finish closing the crimp in the space closest to the tip. If closed correctly your crimp will now hold fast.
|
Step 7
Slide the beads along the wire to the finished end threading the "tail” back through the last few beads if possible (if the jewellery wire will not re-thread through the beads, trim close to the crimp). Cut the jewellery wire 10cm from the last bead.
|
Step 8
Thread the second crimp, the second pre-cut length of French wire/bullion and second side of the clasp. NB CLASP MUST NOT BE CLOSED. Re-thread the jewellery wire back through the crimp and if possible the last two-three beads.
|
Step 9
Hold the clasp (now you know why the smaller or fiddly end is threaded first) and pull the jewellery wire with pliers (gently) until there are no gaps.
|
Step 10
Close the crimp using crimping pliers as above, and trim the end of the jewellery wire. No more than 5-8cm of your wire should be discarded.
|
Tools Required:
Crimping Pliers
Tips:
Do not pre-cut the Jewellery Wire.
Keep the crimps in a sealed container; if dropped they are hard to pick up.
Products:
Crimp Beads
Jewellery Wire
Wire Guardians
Beads
Clasp
To Start:
 |
|
|
|
|
|
Step 1
Start with a roll of jewellery wire. Remove the cap from the reel of wire and unwind as much wire as you need to get started. Replace the cap on the reel to protect the remaining wire. Do not pre-cut the wire.
|
Step 2 Thread your desired jewellery design onto the jewellery wire.
|
Step 3
Get out two crimps and a Wire Guardian that match the thickness of the wire used.
|
Step 4 Thread one of the crimps, wire guardian and one side of the clasp (small or fiddly side first).
|
Step 5
Thread the jewellery wire back through the crimp, leaving a "tail” of 1-1.5cm. Gently pull the long end of the jewellery wire end with chain/flat/crimp pliers until there are no gaps around the clasp. You may need to close the Wire Guardian to get a neater finish. |
|
|
|
|
|
|
Step 6 Close the crimp using crimping pliers. First squeeze the crimp with the crimping pliers in the space closest to the hinge. Next release the crimp and turn the crimping pliers a quarter turn and finish closing the crimp. If closed correctly your crimp will now hold fast.
|
Step 7
Slide the beads along the wire to the finished end threading the "tail” back through the last few beads if possible (if the jewellery wire will not re-thread through the beads, trim close to the crimp). Cut the jewellery wire 10cm from the last bead. |
Step 8 Thread the second crimp, the second wire guardian and second side of the clasp. NB CLASP MUST NOT BE CLOSED. Re-thread the jewellery wire back through the crimp and if possible through the last two-three beads.
|
Step 9
Hold the clasp (now you know why the smaller or fiddly end is threaded first) and pull the tail of the jewellery wire with pliers (gently) until there are no gaps. Close the gap in the wire guardian if needed for a neat finish.
|
Step 10 Close the crimp using crimping pliers, and trim the end of the jewellery wire. No more than 5-8cm of your wire should be discarded.
|